-
Getting Started
-
- The Configuration Guide for Employee Training Management on SharePoint online
- The Configuration Guide to Event Management on SharePoint
- How do I configure Permissions for Employee Training Management on SharePoint Online?
- How do I configure Permissions for Event Management on SharePoint online?
- How do I configure E-Mail settings in SharePoint Online with a user account?
-
User Guide
-
Events
- How to Create Recurring Events in SharePoint
- How-to: Group multiple events to enable single enrollment for all sessions
- How to: Promote and Share Events with the Copy Link Feature
- How to: Create events in draft mode & cancel events and enrollments in one click
- How to Enable External Organizers for Events in Sapiens Event Management
- How to specify external users as organizers, facilitators, and other contacts in an event form using a contact list
- Creating Informational Events Without Registrations in SharePoint Event Management
- How to Enroll in Past Events Within an Event Group
-
Courses & Quizzes
- Configure a SCORM Cloud Account & Upload SCORM files on your SharePoint Site
- How to: Add New Achievement Options (No-Shows, Not-Achieved, Cancelled)
- How to create Self-paced Training & use our Complete Course Button webpart (Add quiz, track time, etc.)
- How to add a Quiz on SharePoint Online using Microsoft Forms
- How to: Use Microsoft 365 learning pathways in an Employee Training Management site
- How to: Create course pages with the Employee Training Management App
- Checking course completion using an anonymous quiz
- Using Curriculums in the Employee Training Management App
-
Enrollments
- How to: Copy existing enrollments from one event to the other with the Copy Enrollments option
- How to restrict the number of enrollment per user (covering the same topic/course)
- How to: Enroll Microsoft 365 groups and distribution lists
- How to: Request information upon enrollment
- How do I confirm attendance after an event?
- How to: Allow external users to enroll to events on SharePoint
- Manually managing RSVP responses in the enrollment list
- Enrolling Priority Users When an Event Is Fully Booked and a Waiting List Is Enabled
-
E-Mail
- How to: Send e-mail notifications or Outlook calendar invitations and prevent e-mail updates to be sent to attendees
- How to: Send additional e-mail notifications and create reusable email templates
- How to: Send an e-mail notification when you enroll users in a course
- How do I Forward RSVP status replies to an e-mail address
- Curriculum notification behavior and available workarounds
- Customizing Automatic Email Notifications per Event in Sapiens
- Exchange Mailbox: Use a User Mailbox Instead of a Shared Mailbox
-
Teams
-
Views, Forms & Pages
- Modify and apply changes to a Template Page (of an event, course,topic...)
- How to: Use our Landing Pages Samples
- How to: show events on multiple SharePoint websites (e.g. your intranet, company news, etc.)
- How to: Promote events to specific target audiences only
- How-to: Editing forms for events, topics, courses, etc.,
- How to: Hide an event until a specific date
- How to: Personalize list views and create a Calendar View in SharePoint Online
- How to: Create customizable event pages On your SharePoint site
- Understanding Detail Pages and Course Pages
- Understanding Banner Behavior in Detail and Course Pages
- Managing and Customizing the Manage Enrollments View
-
Reporting
-
Time Zones, Regions & Languages
-
Power Automate & Power Apps
- Automated check-in: how to send a ticket containing a QR Code and scan it upon registration
- How to: use Power Automate to show events to a specific target audience
- How to: Add users to the Employee Training Management learner list
- How to: Collect feedback after an event using Microsoft Forms
- Import Achievements from a Spreadsheet Using Power Automate
- Send email reminders before an event occurs
-
Installation, Updates & Uninstall
- How to add Event Management to SharePoint online
- How to add Employee Training Management to SharePoint Online
- How to add Employee Training Management to my Microsoft 365 Environment
- How to add Event Management to my Microsoft 365 environment
- Update the SharePoint|sapiens Apps
- Entra ID App-Permissions requested by Sapiens Apps
- How do I upgrade from SharePoint Add-in to Microsoft 365 App
- Employee Training Management in Microsoft Teams
- Event Management in Microsoft Teams
- Update Event Management app on all sites in the tenant using PowerShell
- How to Remove the SharePoint|sapiens App from your SharePoint Site
- Change Log and Release Notes for SharePoint|sapiens Apps
- Manual steps after the Sharegate migration
- Upgrade from Exchange Web Services (EWS) to Microsoft Graph API
-
Troubleshooting & Known Issues
-
- Troubleshooting: Users Do Not Receive Email Invitations/Notifications
- What can I do if emails from SharePoint|sapiens Apps get lost in Junk Mail?
- Troubleshooting - Exchange Room Not Receiving Meeting Requests
- Troubleshooting: Meeting Response (RSVP) Not Updated in Enrollment View
- Troubleshooting: Re‑authorizing the Email Account
-
Retention & Recovery
-
License
-
- Articles coming soon
Applies to Event Management & Employee Training Management
Manual steps after the Sharegate migration
After you have migrated your site to a new tenant, you’ll have to perform a few steps manually.
How-To fix a sapiens SharePoint site after migration
Here are the steps per target site. Our recommendation is to test it once on a test site to see if everything works as expected.
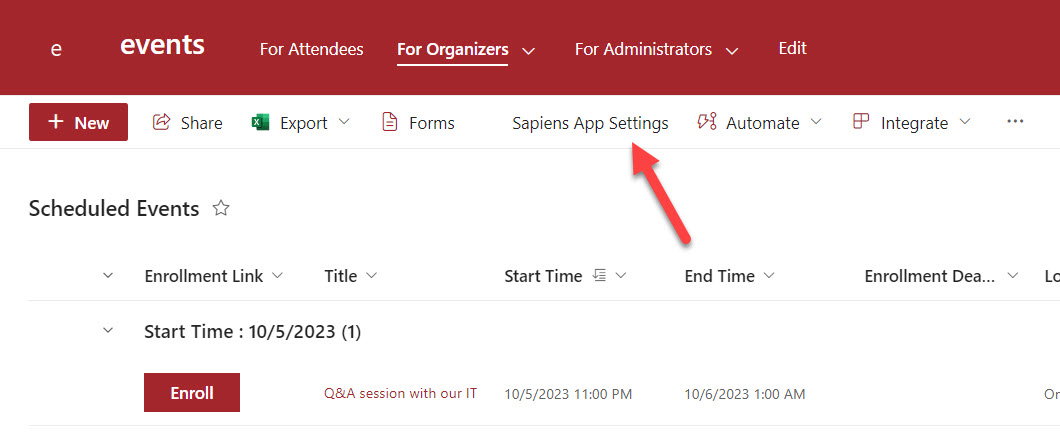
1. Open one of the Sapiens list and click on ‘Sapiens App Settings’.
Alternatively, navigate to “https://addins.sharepointsapiens.com/evm/pages/siterepair.aspx?SPHostUrl=https://[company].sharepoint.com/sites/[yoursite]&SPUseMSAL=1” manually. Make sure the URL in the SPHostUrl parameter is correct.
2. Now you should see something like this:
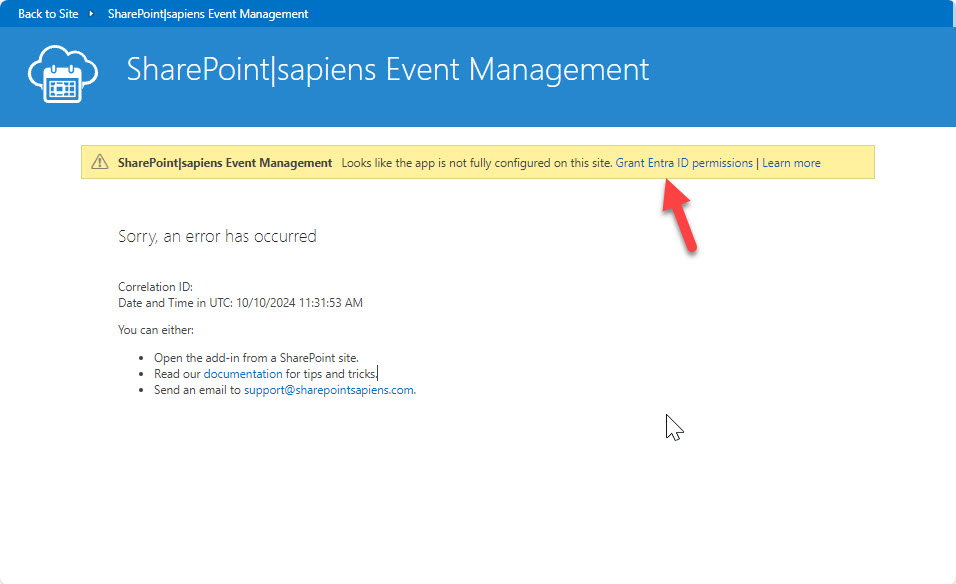
Click on the link in the yellow box. If it doesn’t show the error and the yellow box, you already approved the Entra ID permissions. In this case you can navigate to the following site directly: https://addins.sharepointsapiens.com/evm/pages/siterepair.aspx?SPHostUrl=https://72vjyb.sharepoint.com/sites/ContentType&SPUseMSAL=1 (make sure the SPHostUrl is correct). In this case you can skip the next two steps and carry on with Step 5.
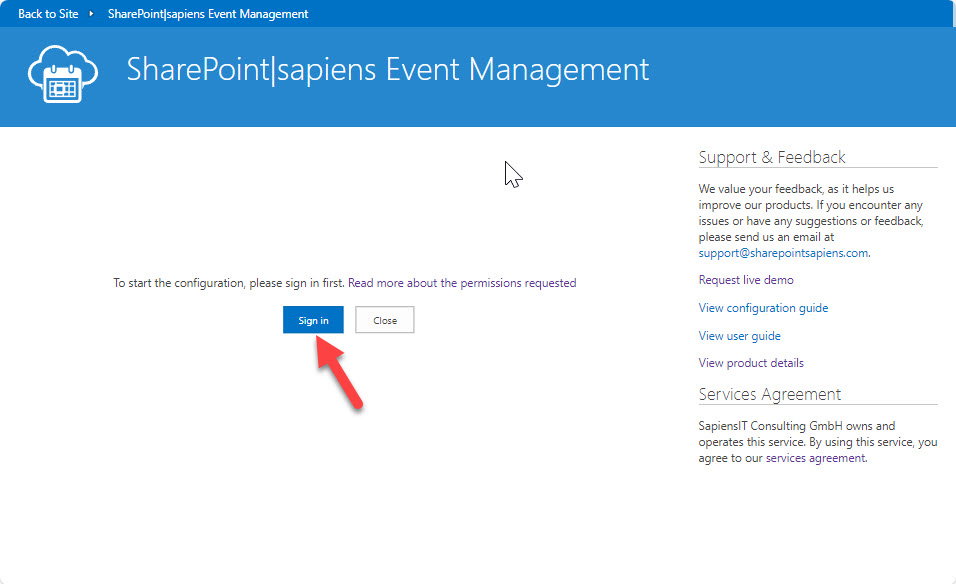
3. Click on ‘Sign in’ or ‘Authorize’ and approve the Entra ID permissions
4. On the next screen click on ‘Check Site Health’.
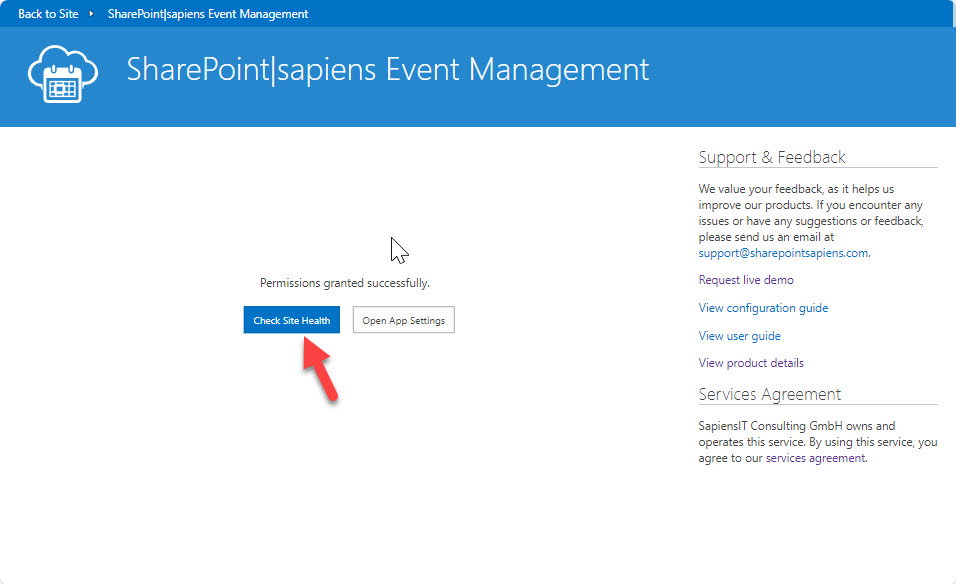
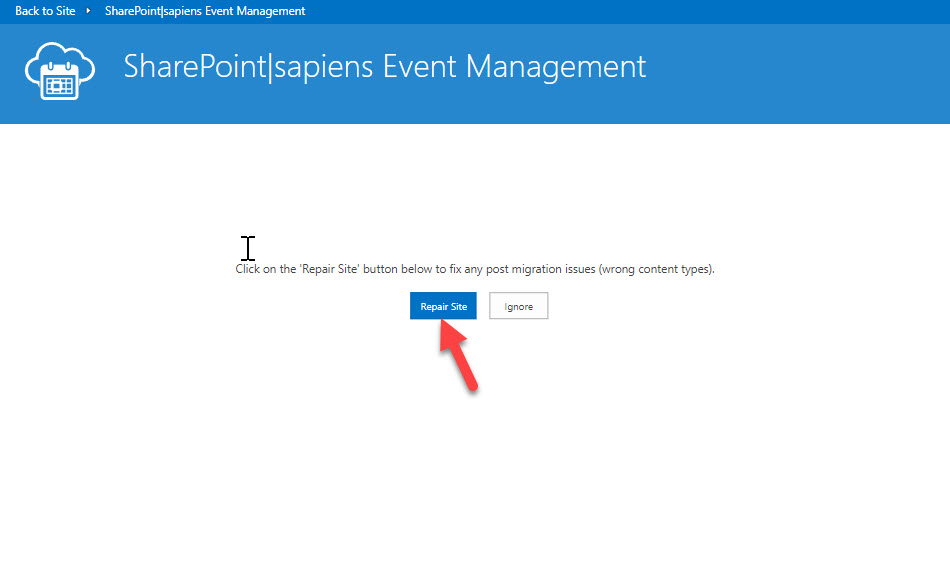
5. Click on ‘Repair site’
6. Once it’s done, it will open the app settings page. Here you can verify the settings, or as I mentioned yesterday, you can also send me a mapping from old sites to new sites and I’ll make sure the settings are transferred over. The only thing that cannot be transferred over is the Exchange email account (in case the 3rd email option was in use in your source tenant). The email account must be an Exchange account in your new tenant that will be used to send and receive emails. Here you can find more details: Configure E-Mail settings in SharePoint online with a user account (sharepointsapiens.com)