Applies to Employee Training Management
Configure a SCORM Cloud Account & Upload SCORM files on your SharePoint Site
Our Employee Training Management App on SharePoint supports SCORM and many other common eLearning formats such as xAPI, cmi5 and AICC. This means that you can upload & host SCORM, xAPI, cmi5 and AICC files on SharePoint and show these formats directly on course pages in the app.
In this article, we are going to guide you on how to connect the SharePoint|sapiens Employee Training Management app with a SCORM Cloud account and on how to upload and host your files with a focus on SCORM files on SharePoint course pages.
Sign-up to SCORM Cloud
To provide SCORM content in your Employee Training Management SharePoint site, you must connect the Employee Training Management app with SCORM Cloud account.
You will need a valid account on SCORM Cloud. You can register and find all information about subscription options following this link: SCORM Cloud. A free version is also available to start.
Connect the app to SCORM Cloud
To connect the app with a SCORM Cloud account, enter the Application Key and Secret in the app settings:

You can get the Application Key and Secret in your SCORM Cloud account.
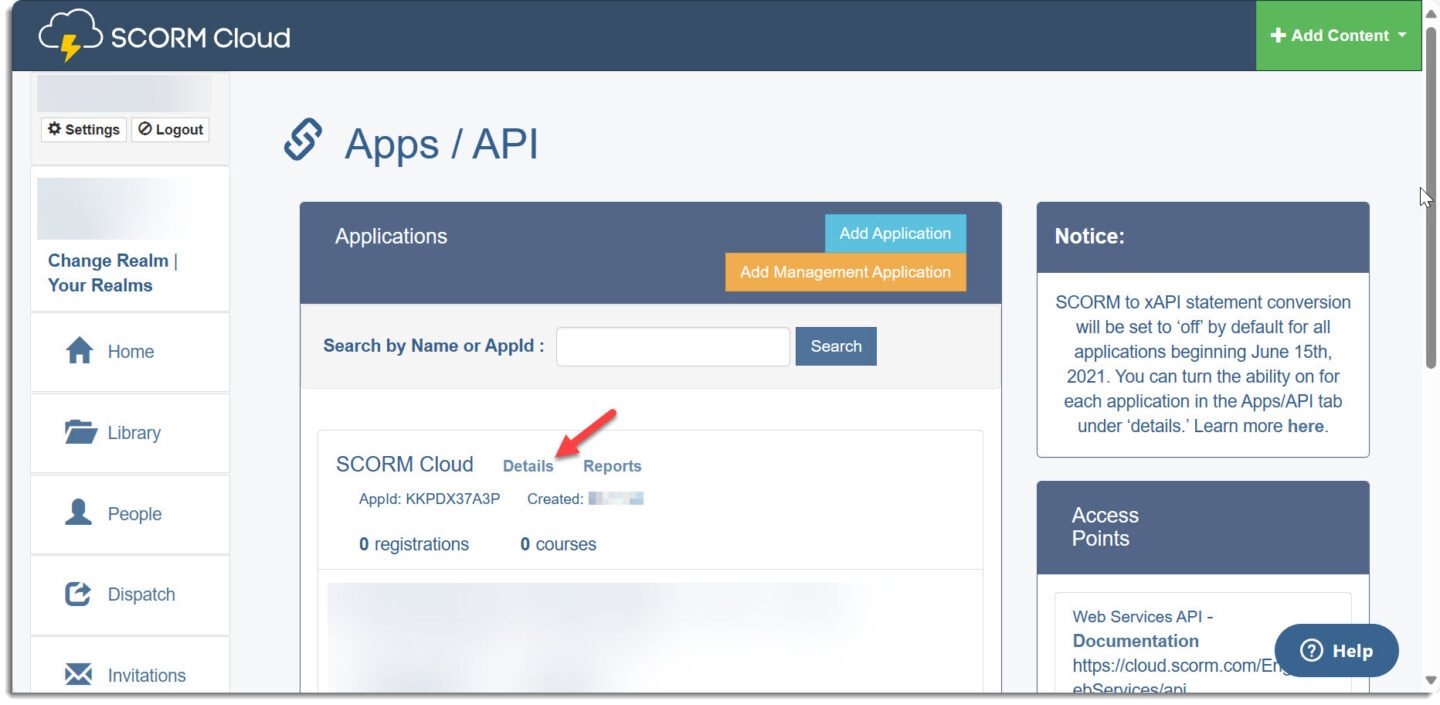
In your SCORM Cloud account, click on Apps/API.

The Application Key you need to connect to the SCORM Cloud is the AppId you see on this page.

To get the Application Secret, click on Details.
In the section Authorization Keys, click on Add Key, enter the name of the key, and click on Save.
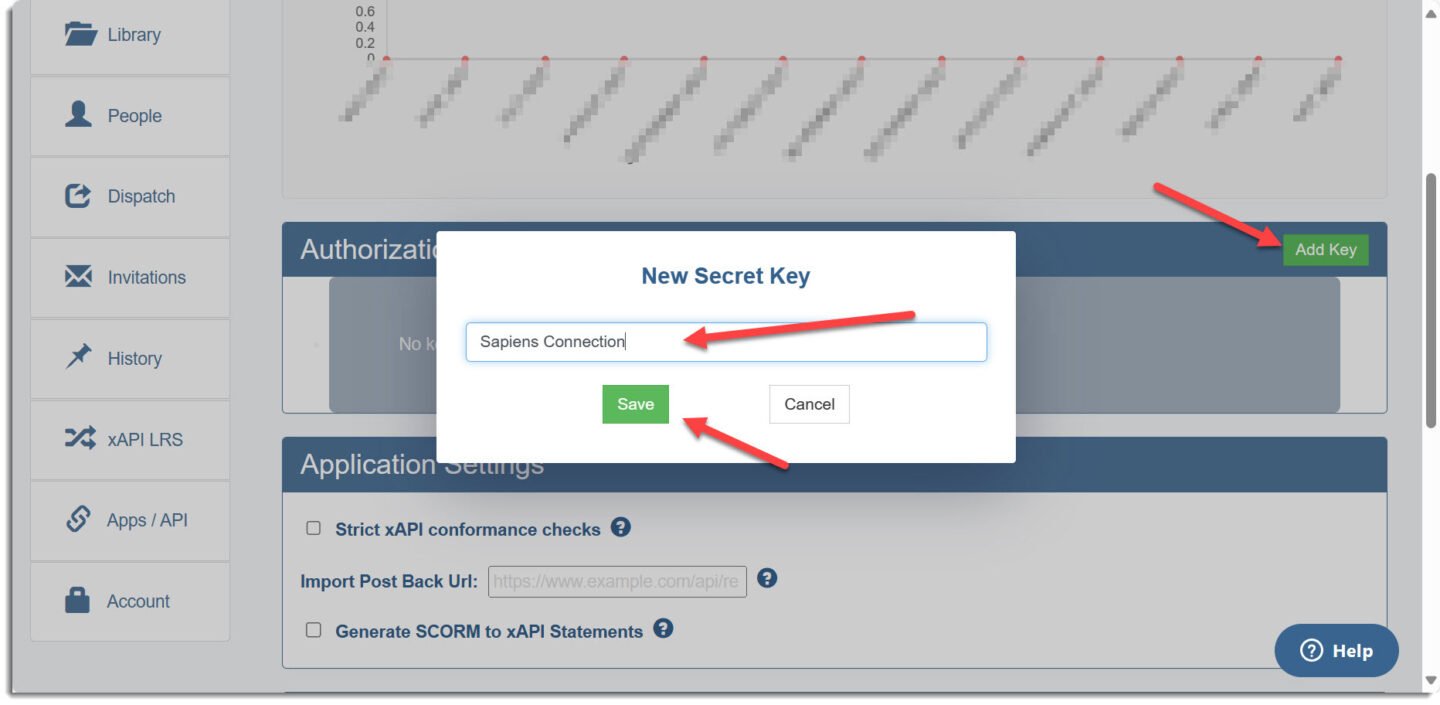
Here you can see the Secret Key.

That’s it! It is now possible to upload and host your SCORM content on your Employee Training Management site(s).
Upload and host SCORM Content
Prerequisite
Make sure you have one of the following apps in this version or higher installed:
- SharePoint|sapiens Employee Training Management Version 3.3.13 OR
- SharePoint|sapiens Modern User Interface Version 3.3.13
After installing the latest version, open the For Administrators page, open the app settings and click on Save.
IMPORTANT You also have to approve an additional API in the SharePoint admin center in API access.
Select the API SharePoint|sapiens API and click on Approve.

This opens a panel on the right, click on Approve here.

This will open a dialog where you have to accept the permissions.

After clicking on Accept, you’ll see a success message and you can close the dialog.
Create SCORM Course
When creating a new course in the training catalog, select the course type eLearning Course.

Enter the course title, description, prerequisite, objective, and any field in the form as needed and click on Save. This will save the course and create the course page. Once the course page is ready, you will be redirected to it.
If you want to learn more about creating a course page – read this article: Create Self-paced training on SharePoint (sharepointsapiens.com). Note that if you use a SCORM file, quiz and time tracking might already be included in your course file.
Upload & host SCORM files on a SharePoint page
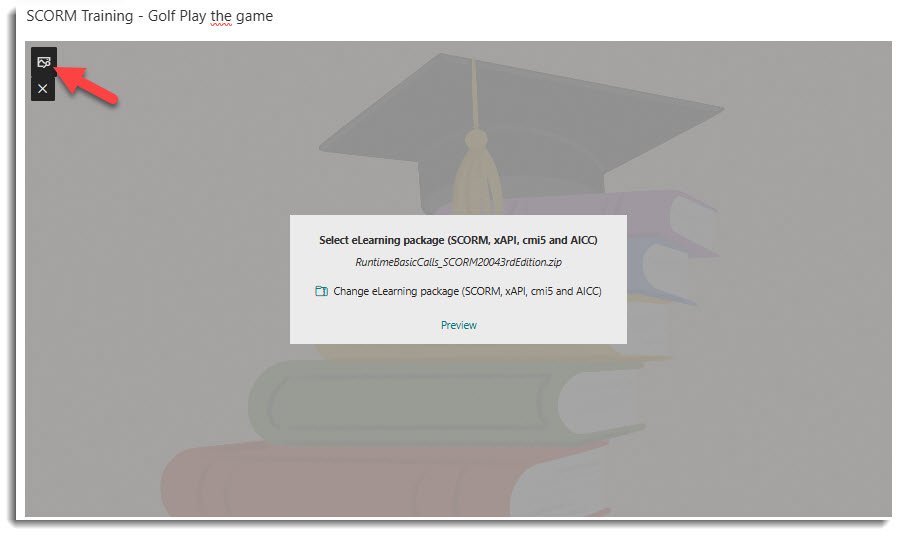
On the course page, you first need to upload the SCORM file. Click on Select eLearning package.
You can upload your files in all formats (SCORM, xAPI, cmi5 and AICC) on your SharePoint site from OneDrive, the SharePoint site or from your file explorer using the option Upload.

Select the file and click on Upload.

That’s it!
Edit the Background Image
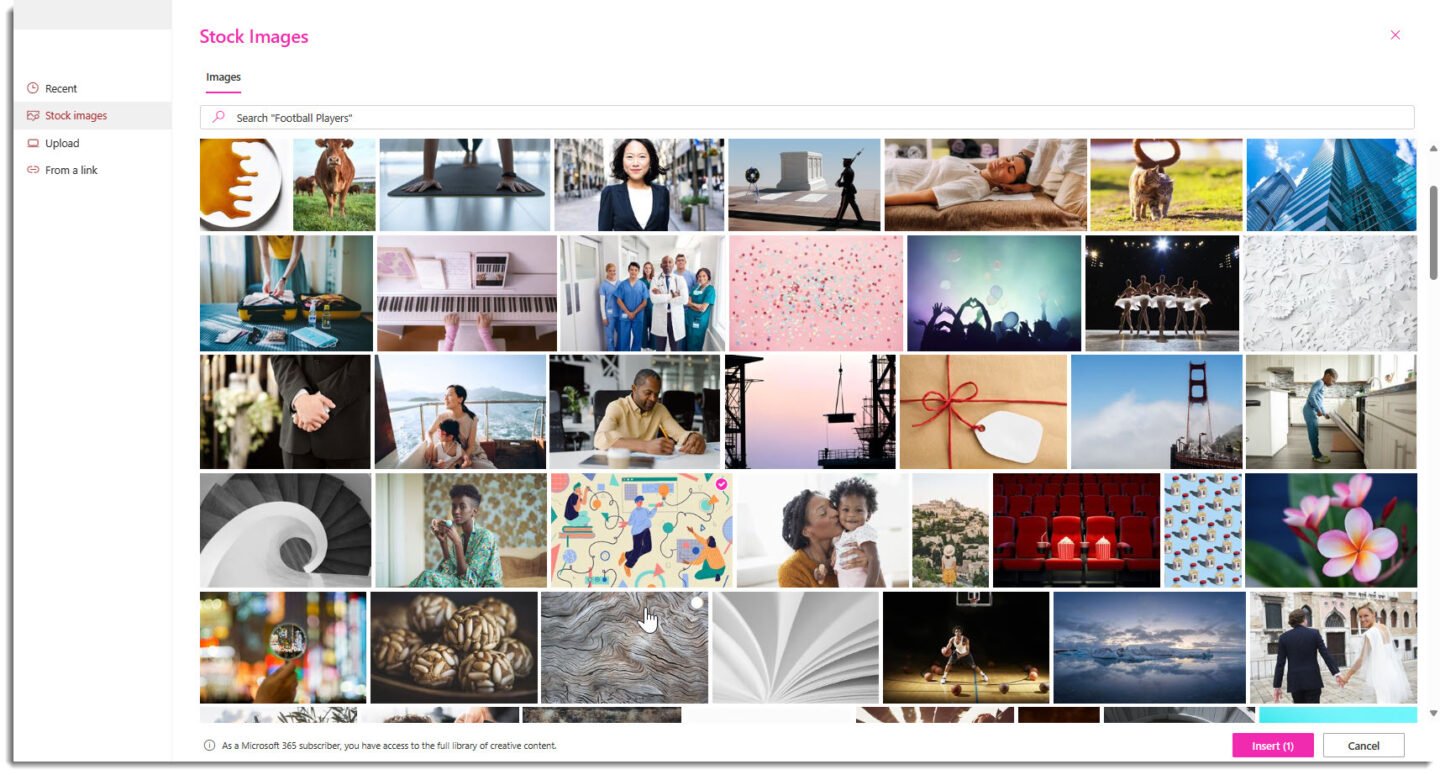
You can also select a preview image to show in the background.
Select an image from Stock images or upload your own image.
Preview content with the Preview Mode
Once you uploaded hte file and if you want to view the player, click on Preview. To view the course content in preview mode, click on the Play button.

To save the page, click on Publish.
Play SCORM content in Play mode
Users opening the course page can now see our SCORM player on the SharePoint page. By clicking on the Play button, the SCORM course content will be visible in a dialog.

Once the course is completed, users can close the dialog. This will show the completion status.
If the user failed the course, the following will be visible.

Organizers can decide if users should be able to Retake a course. This allows users to start all over.
If the course is completed successfully, following message will show.

Replace SCORM file on the SharePoint course page
To replace a SCORM file with another one, just navigate to the course page, click on Edit.

And click on Change SCORM package in the SCORM player.

Now, replace the file.
Important: Check the All Self-Paced Courses view
The eLearning Course content type is a new addition to our app. It might therefore not be included in the Self-Paced Courses views in your Training Catalog.
Thus, make sure that the filters are set correctly and that the new content-type eLearning Course is included. To do that, simply navigate to the All Self-Paced Courses view and click on Edit current view.

And make sure that eLearning Course are included in the filters:

Track Enrollments and Achievements
SCORM and eLearning courses works like any other courses and training events with our app. Training admins can enroll users or users can enroll themselves and will receive a notification in Outlook as usual.
If a user enrolls (or is enrolled), enrollments will be visible in the Enrollments list. Once a SCORM course is completed, the achievement status changes from Pending to Achieved automatically upon eLearning Course completion (and depending on the quiz result if this is part of the file).
All enrollments and achievements will be visible as usual in the All Enrollments & All Achievements lists. You can make use of our new column eLearning Course Progress in the Achievements list to see the progress status (Passed, Failed, Started) per course and enrollment. Simply add the column in the All Achievements list and in the views if needed. To add the column, click on Add Column, select it and click on Apply.

If you have any questions or need assistance, please contact our support team at support@sharepointsapiens.com. Our experts are happy to assist!